How to change the drive belts on a small wood chipper
Intro on how to change your wood chipper belts
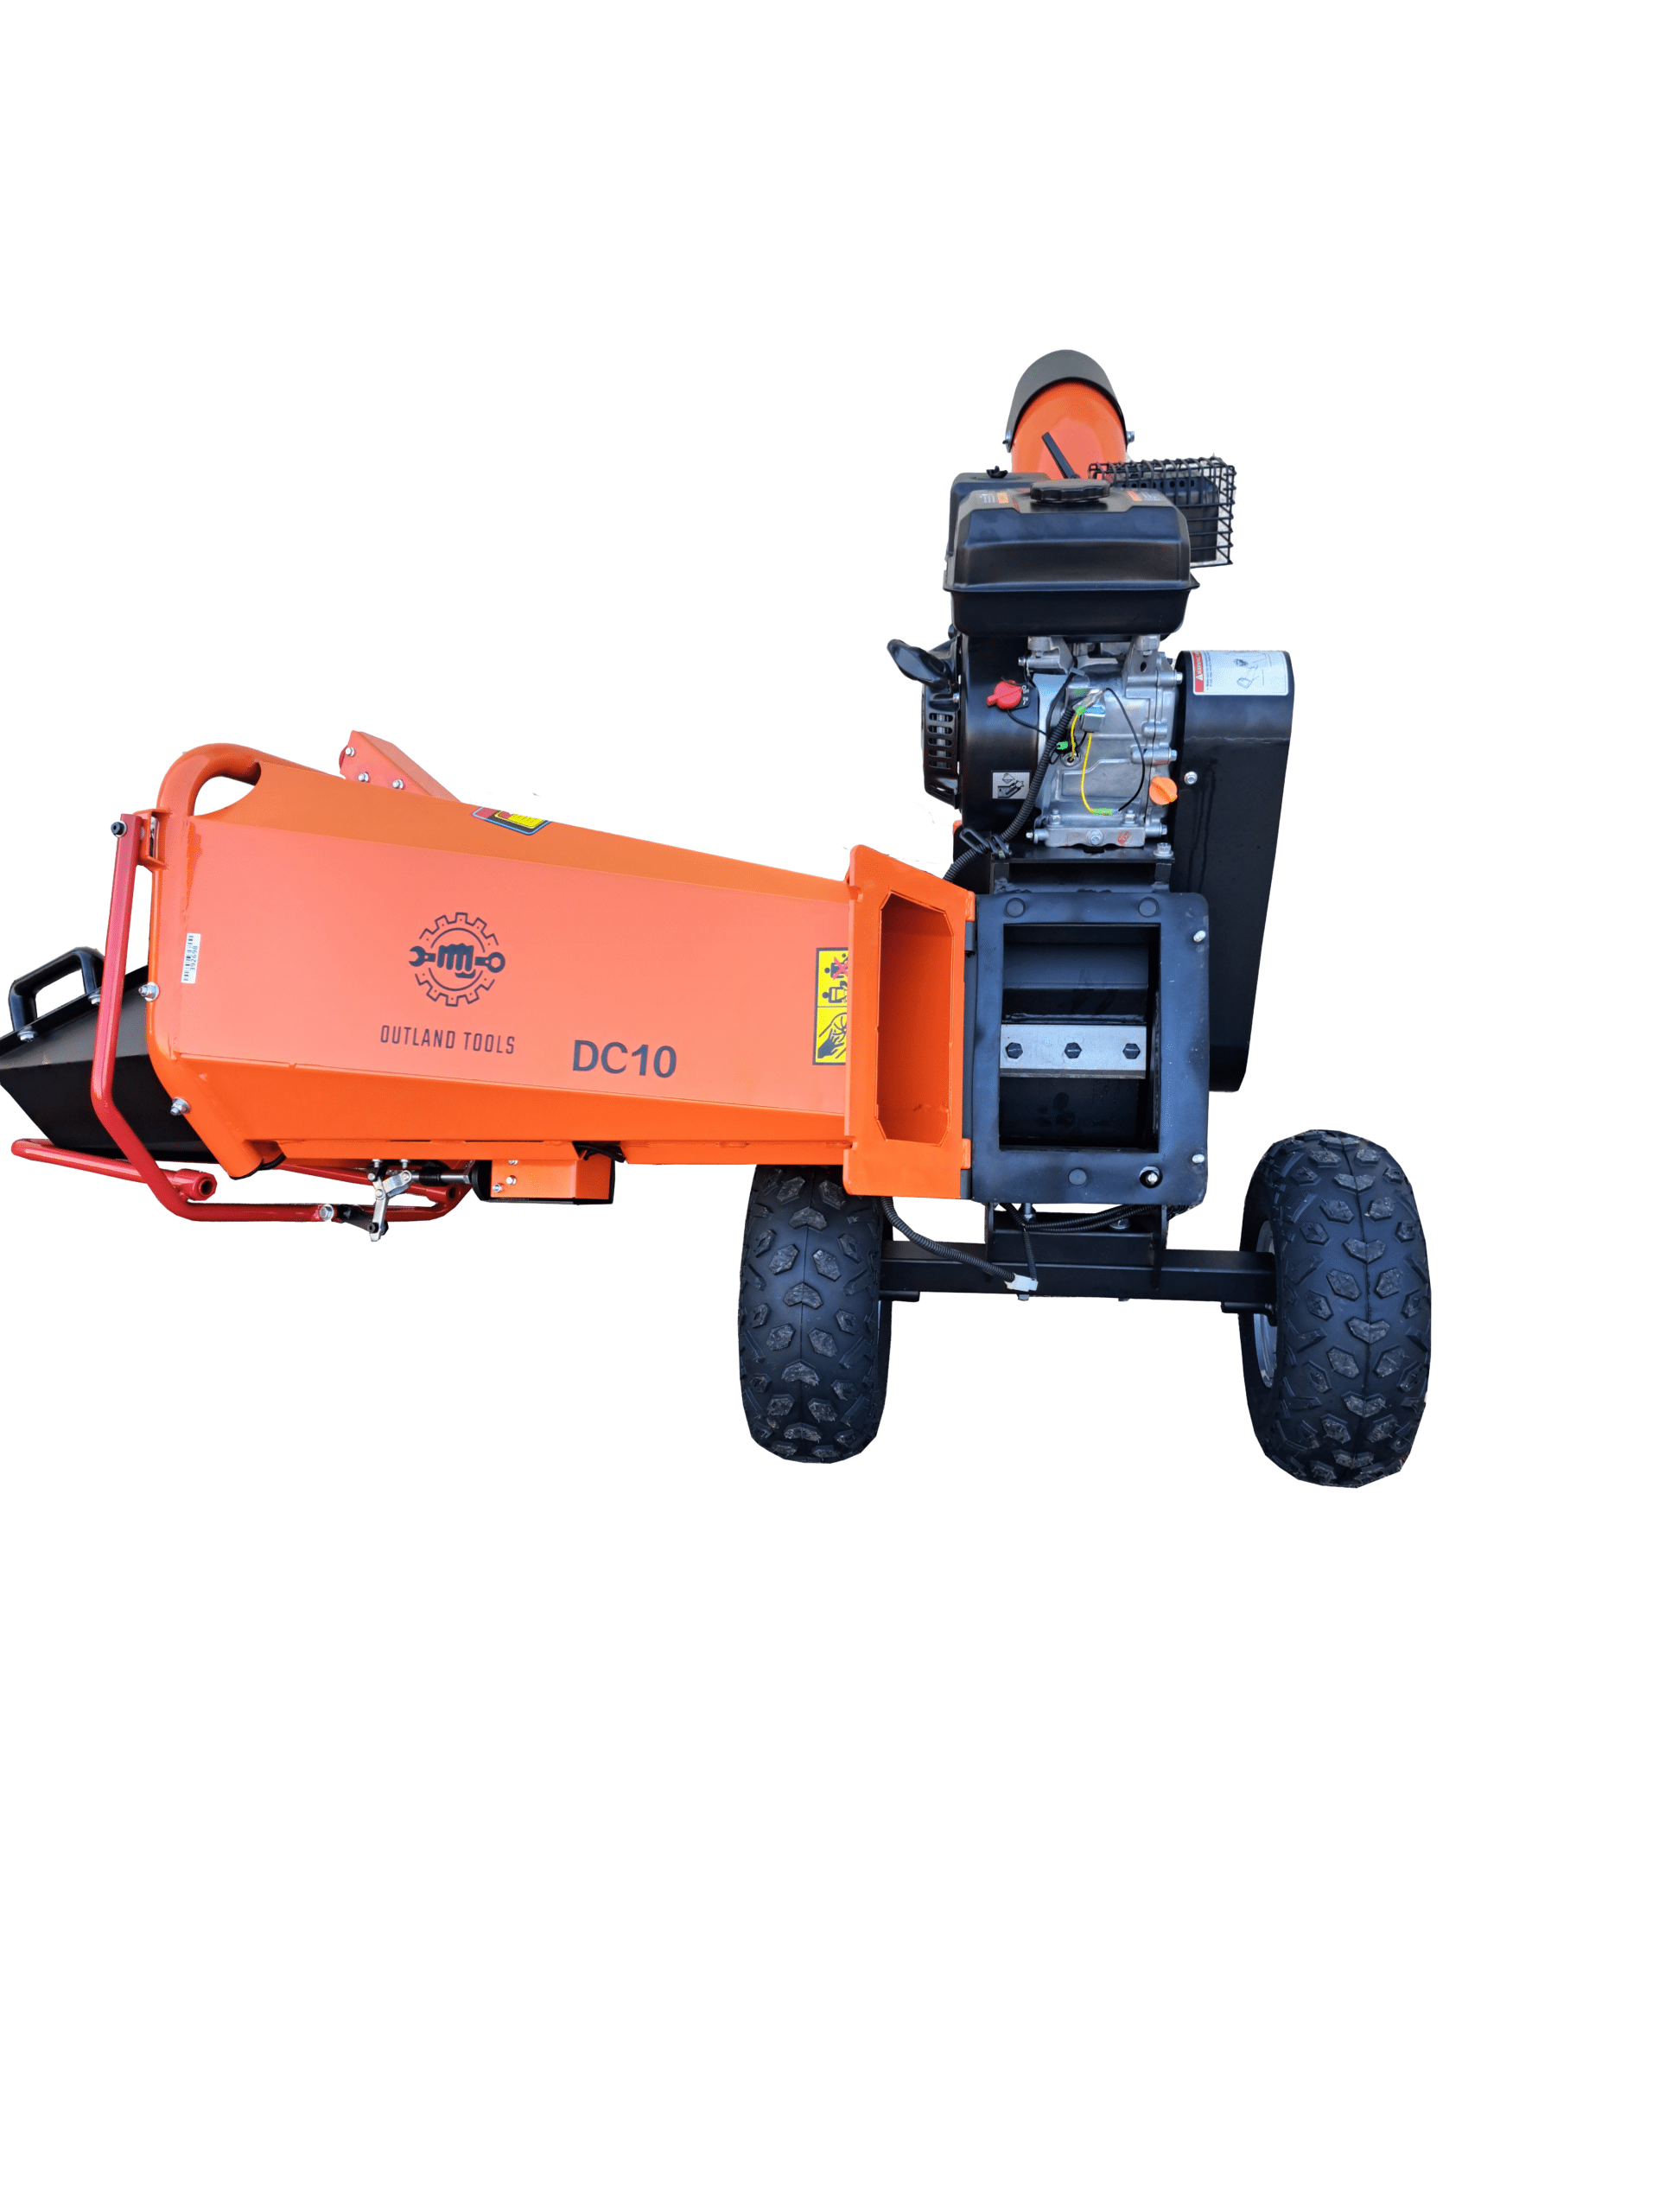
The video and instructions show the belts being changed on a Outland tools DC10, but the method and process are the same for many similar models. Changing the belts on your wood chipper annoying but is an inevitable part of running a chipper. Whether the belts had been burned out on the first use due inexperience or have just worn and stretched over time the belts will need replacing at some point. You will need some basic tools and common sense! If you do decide to complete a similar repair on your wood chipper, please ensure you do so in a safe palace in a safe manner. If need to change you drive belts and you are unable or unwilling to do the job yourself we would recommend taking the machine to a repair shop local to you.
Before you start changing your belts
Turn off the fuel and pull off the spark plug cap. The last thing anyone wants to do is fit some new belts and them get ruined straight away. Open up the hoppers and ensure the chipper drum is free of any material and turning freely. While the hopper is open it would be wise to check the condition of the blades. In some cases the drive belts are burned out due to a jam or blockage of the chipping drum or blades, it would not be unusual to find damage to the blades. You can order your belts blades or other parts here if needed.
How to chage your drive belts step by step.
- Step 1 turn off the fuel and remove the spark plug cap.
- Step 2 Remove the belt cover. the belt cover maybe slightly different depending on your model of chipper
- Step 3 Loosen the belt adjustment bolts. You will only need to give the bolts a few turns, don’t take them all the way out!
- Step 4 loosen the belt adjuster bolts (the ones that “Push” the engine)
- Step 5 now the drive belts are loose you can remove them one at a time. Use a large screw drive or bar if needed, but you should not need a lot of force. NEVER put your fingers or another part of your body between the pulley and belt.
- Step 6 refit the belts one at a time.
- Step 7 Adjusting the drive belts. Tighten the belt adjustment bolts (the 4 around the engine) until the washers can still just turn. (this will allow the engine to slide but not lift) Now evenly one turn at a time wind the “adjuster bolts” in pushing the engine along tightening the chippers drive belts. This should be done evenly to ensure the drive belts run nice and straight.
- Step 7 checking your drive belt adjustment. Too tight and your belt will stretch, wear prematurely and over stress other parts. Too loose it will slip. How we check the belt tension is simple, on the longest run of the belt between the pulleys you should be bale to twist the belt 90 Deg with your fingers. Check the belts run true to each other and adjust if necessary.
- Step 8 tighten up, now tighten the “adjuster bolts” locking nut and adjuster bolts around the engine.
- Step 9 While you have the cover off you should grease the bearing (order a grease gun hear is you need one.
- Step 10 refit the belt cover.
- Step 11 Refit spark plug, turn on the fuel and test the chipper.
Thanks we hope you found this helpful
Thanks for taking the time to read this and watch the video, I hope it was helpful. This was writen by Neil Madders a city and guild qualified engineer with 25 years expeicnce and director at NDM Distribution LTD trading as Outland Tools. If you need any further help feel free to reach out to us here. If you needed to upgrade your wood chipper please check out our full range. We do have more tech help videos on our youtube channel please take a look. If you need help with the repair and cannot find somone local we can help if you book a repair (chargable).